Train Division |
|
 |
|
|||
7.5 inch Gauge Live Steam |
|||
Home Products Installation History of the DSP&P Georgia Garden Railroad Colorado Garden Railroad Health Trains Home |
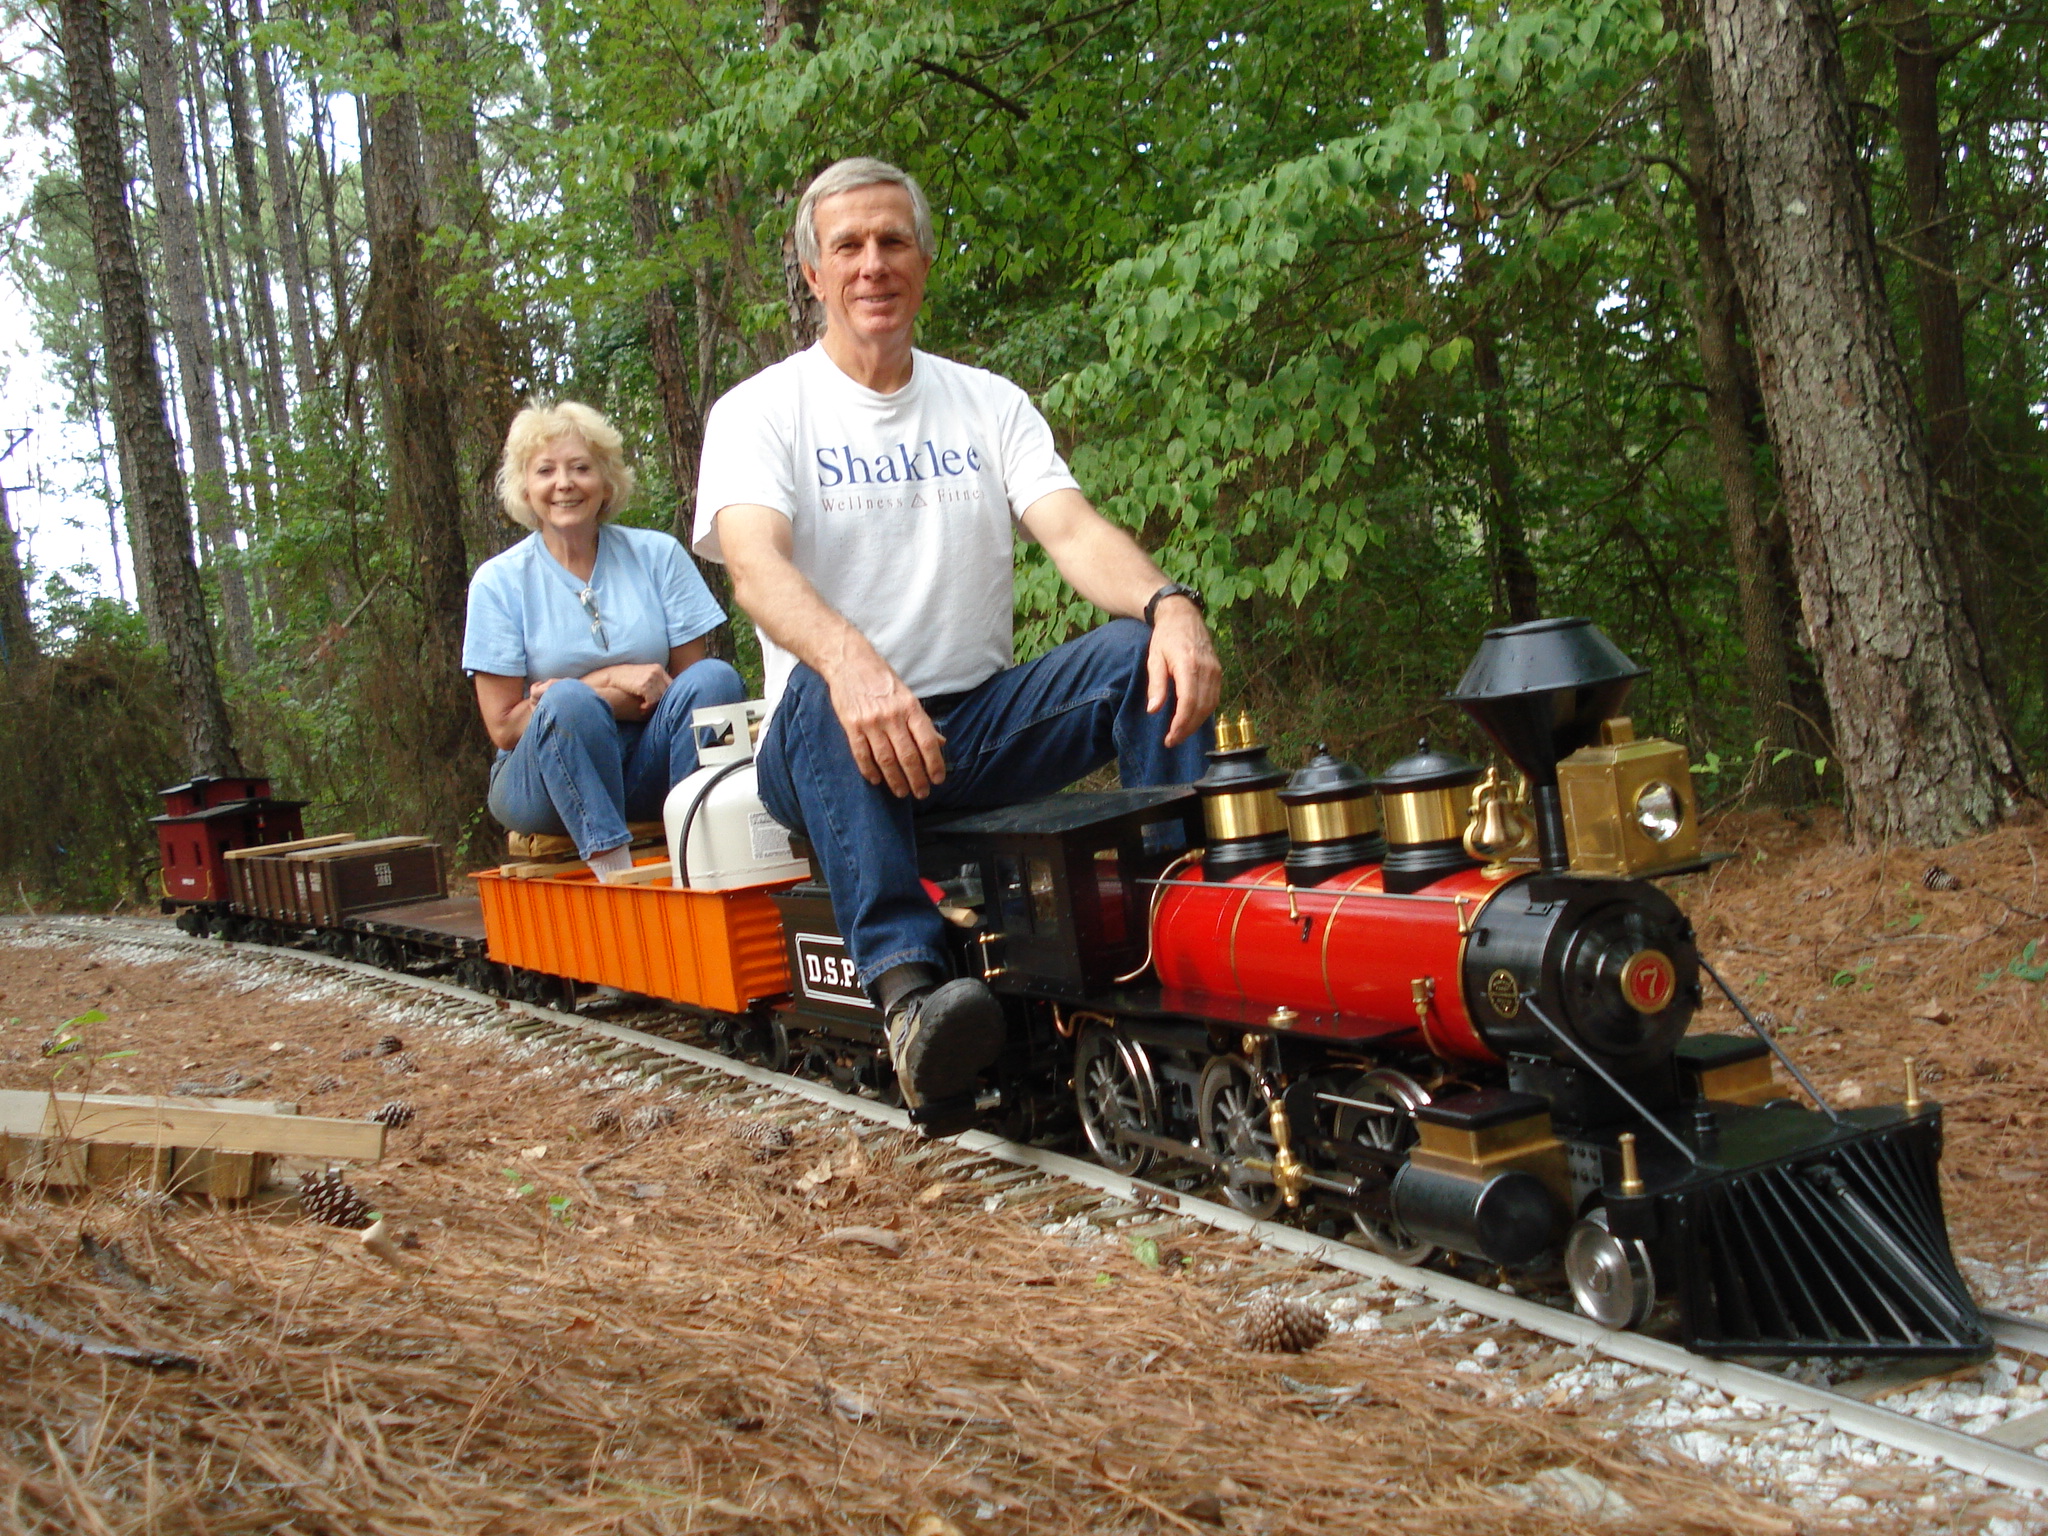
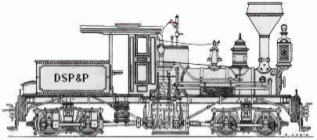
Dilapidated, Slow Poke & Poor (DSP&P) Photos and information about the OS Engines Mogul built by Lowell Dietz Photo history of construction of Mogul. Photos of building a grade crossing in CO. Parts Statistics
The Parts list contains 510 different parts and 1073 total parts. The nuts, bolts, washers, cotter pins, retaining rings, etc. contains 140 different items and 2285 total items. The kit also contains 31 items such as tools, oil, grease, packing, etc. Construction Statistics
Kit arrived on 22 September 2006 and was completed on 18 October 2006. 27 days from arrival to completion. Only 22 days was actual work done on the Mogul. 78 hours 41 minutes of actual construction time to complete the Mogul. Some of that time was spend undoing something I had done incorrectly; like the time I put 22 tiny steel screws into the water tank lid and then realized I was supposed to use stainless steel screws. If you do the math you will see that, on the days I actually worked on the locomotive, I averaged about 3.5 hours per day. 13 hours 26 minutes were spent doing peripheral activities such as painting parts that I thought would look better painted (painting was not called for in the plans), building a stand to hold the engine during construction, and making notes and construction tips to send to the manufacturer so they can improve the assembly manual. Total Time: 92 hours 7 minutes. Things I've done since completing the Mogul.
And things I'd do different.
|
| Contact Us | 5225 Laurel Terrace, Flowery Branch GA |